Custom 3D printed rack for records, CDs and magazines
Preset: Rack for 12 game or DVD cases
Slots
12 slots, 15.5 mm each
Size
232 mm long · set by the slots, dividers and end walls
Shape
Each end is a solid wall 2 mm thicker than a divider, for a sturdier rack.
Base
Joining racks
Each end has two half-bowtie notches underneath. Push two racks end to end and the notches make bowtie-shaped sockets across the seam. Press a printed key into each socket from underneath: its narrow waist stops the racks pulling apart. Print the rack once for each rack you want, and two keys for each pair.
About this slotted rack
A 3D printed rack that holds flat things upright in a row of slots: vinyl records, magazines, CDs, games or mail. Choose the gap, how many slots and how tall and deep the rack is. A longer collection is several racks joined end to end, without learning CAD.
What people make with it
- Vinyl record rack with 5.5 mm slots and sloped dividers, to flip through LPs.
- Magazine rack with 11.5 mm slots and tall dividers.
- CD rack with 12 mm slots and short dividers.
- Mail sorter with a few wide slots, small enough for a desk.
Measure one item, in its sleeve or case, and add about 1.5 mm so it slides in and out. Print a short rack of three or four slots first to check the gap before printing a long one.
Related designs
What you can change
- Slots. Pick an item to fill in a gap, height and depth that suit it, or set your own: a gap from 2 to 60 mm and 2 to 40 slots per rack. The rack’s length follows the slots.
- Size. Up to 350 mm long, 48 to 240 mm deep and 30 to 210 mm tall. Items wider than the rack overhang the front and back.
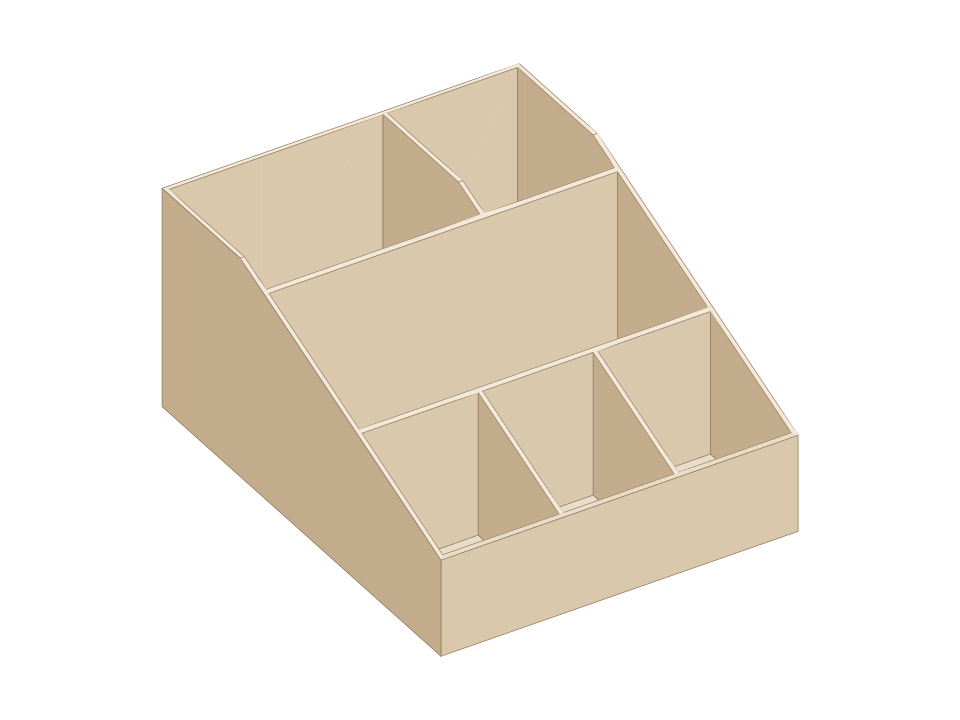
- Dividers. Full dividers are the same height front to back; sloped ones drop toward the front, so items are easier to flip through. Taller dividers need to be thicker.
- End walls and joining. End walls a little thicker than the dividers, or the same. Turn on joining notches to join racks end to end with printed keys, and single wall at joins for one wall at every join, with an End rack to finish the run.
Printing it
- It prints as it stands, base down, with no supports. The dividers stand straight up, and the key and foot recesses under the base are small enough to bridge.
- With joining notches, print the keys flat: two keys join each pair of racks, pressed in from underneath.
- On a smooth shelf, turn on the recesses for stick-on feet and stick 10 mm rubber bumpers in them, so a full rack does not slide.
- Choose your printer and the editor checks that the rack fits its bed.
Cost and licence
- Free. Generate and download it without an account.
- Creative Commons Attribution 4.0. You may print it, change it, share it and sell your prints, as long as you credit IteraMesh as its creator. Read the licence
Common questions
How wide should each slot be?
The thickness of one item plus about 1.5 mm. A single LP in its sleeve needs about 5.5 mm; a CD jewel case about 12 mm. The item list beside the gap fills in common sizes.
My collection is longer than one rack. What do I print?
Turn on joining notches, then print the same rack as many times as you need, and two keys for each pair of racks. Where two racks meet, their end walls then stand side by side. For a run that looks like one long rack, also turn on single wall at joins: each rack has a wall at one end only, and the next rack’s wall closes its last slot, and you print the rack for every rack but the last, then the End rack once.
How do racks join?
With joining notches turned on, each end of the rack has two half-bowtie notches underneath. Push two racks end to end and the notches make two bowtie-shaped sockets across the seam. Press a printed key into each from underneath: its narrow waist stops the racks pulling apart. A flat screwdriver pushes a key back out.
Why can’t I make the dividers taller?
A tall, thin divider wobbles under the nozzle while it prints. Each millimetre of thickness allows 30 mm of height above the base, so make the dividers thicker to go taller.
Do I need an account?
No. You can generate and download without one. An account keeps saved configurations so you can return to them.